|
|
|
Digital Micro-Ohm Meter
Team Members, Layout-Model, Description, Block Diagram, Pictures
From right to left: Matt Grimestad, Oleg Gudel, Jason Ebaugh, and Brian Paoletti.
Matt Grimestad
•Assist in the overall design and building of the project
•Troubleshoot software design
Oleg Gudel
•Software design for the 68HC11
•Assist in hardware interfacing
Jason Ebaugh
•Design, troubleshoot, and maintain circuitry
•Assist in the construction of project
Brian Paoletti
•Communicate progress to Argonne National Laboratories, and Senior project
advisors of DeVry. •Ordering, and receiving of the hardware necessary to
complete the project.
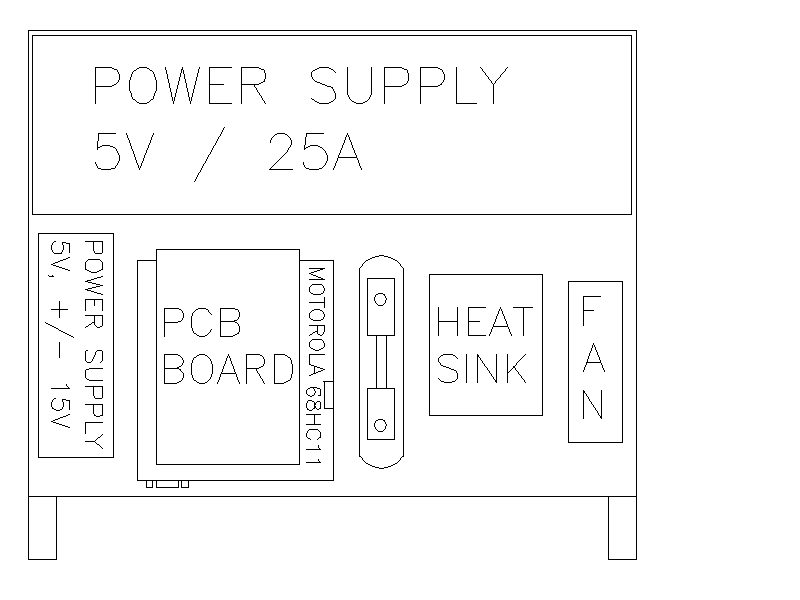
AutoCAD 2000 was used in order to find the proper case size needed to hold all the components of the Digital Micro-Ohm meter. Once the case size was found we were able to move the different items around in order to get the best fit and the best cooling for the shunt.
A digital micro-ohm meter is necessary to verify the condition of shunts used in the Electrochemical Analysis & Diagnostics Laboratory (EADL) at Argonne National Laboratories. A shunt is basically a small resistor. They are used to measure current. The micro-ohmmeter will push 0.5A of current through the smaller shunts and 10A through the larger shunts. When a current is put through a shunt it produces a corresponding voltage. With the current and voltage known the abilities of the 68hc11 would be utilized to calculate the corresponding resistance.
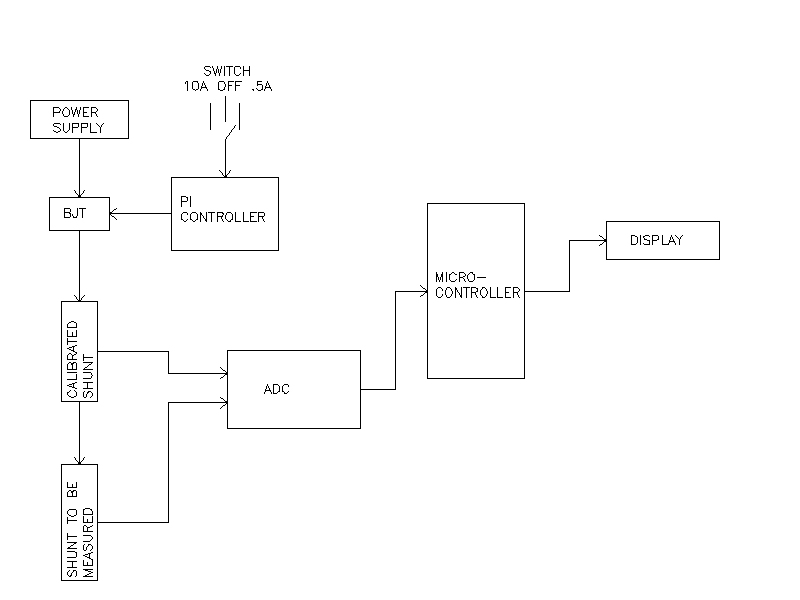
The digital micro-ohmmeter is very simple in design. Basically the circuit is a constant current flowing into a resistance value that is known and a resistance value that is unknown. When the voltage across the resistance value that is known reaches a certain value, the exact current can be calculated. Now that the current is known, the A/D will find voltage across the unknown shunt. These values will be stored into memory and by using the floating point software . The look up table will be found by dividing the voltage by the current. This will find resistance in the unknown shunt.
This simple set-up is the basis for our project. The digital micro-ohmmeter utilizes one BJT, a PI controller, and an analog to digital converter to provide the constant current function. Refer to Figure below for a block diagram. Simply put, the BJT is used as a voltage controlled switch.
The predetermined voltage value across the calibrated resistance is determined by the front panel switch, and is stored in the micro controller as the current value. The voltage read off of the shunt to be measured is then divided by the current value obtained to determine the resistance value. This resistance value is then converted to ASCII in order to be displayed by the LCD.
The micro-ohm meter will be used by Argonne National Laboratories to verify resistance values of shunts. This system will be far cheaper than any other system on the market.
More Pictures
Click on thumbnail for larger photo.
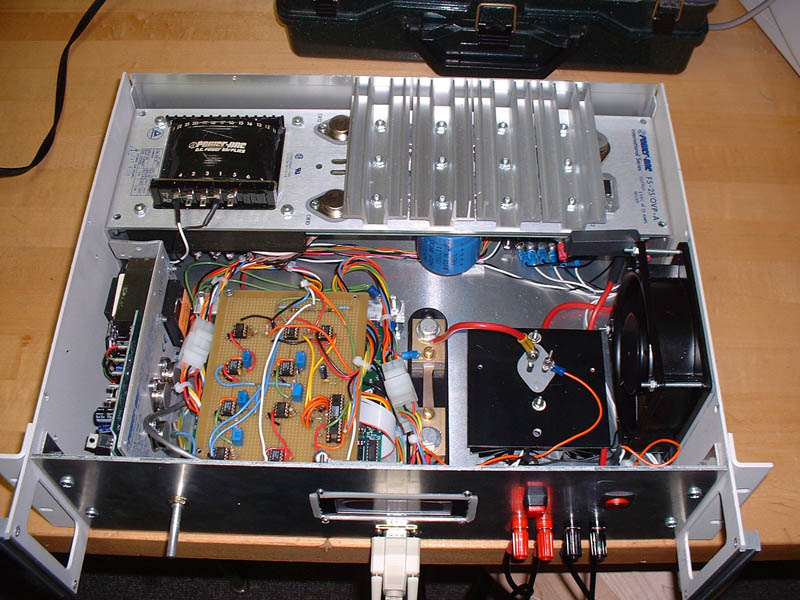
Overview |
Calibrated Shunt |
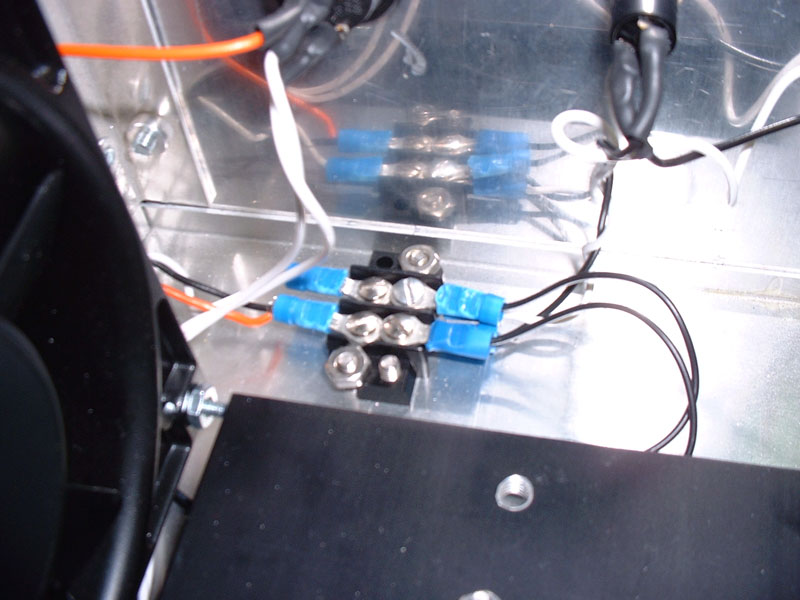
Terminal Connections |
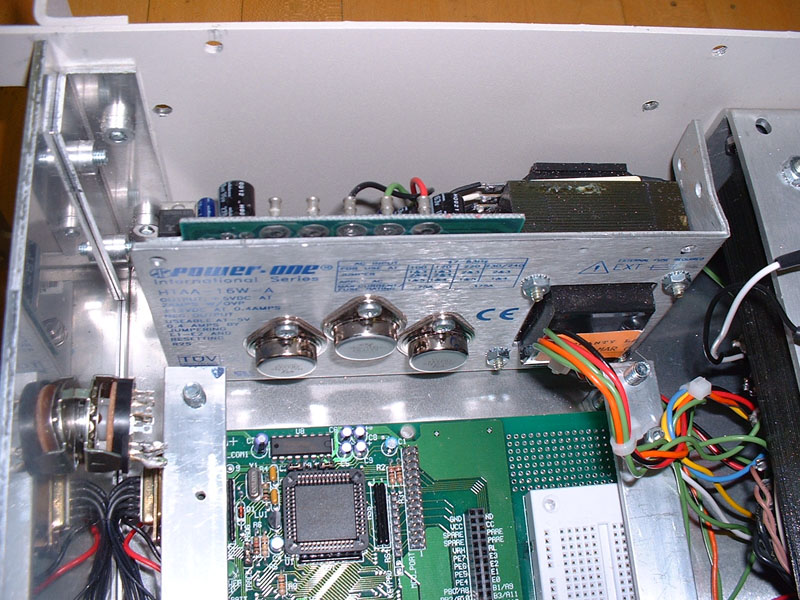
15, -15 V Power Supply |
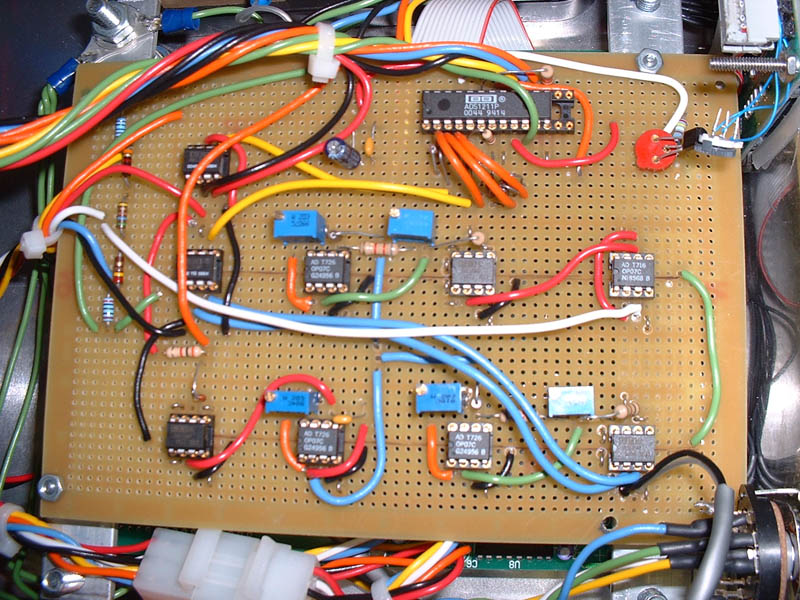
PCB Board |
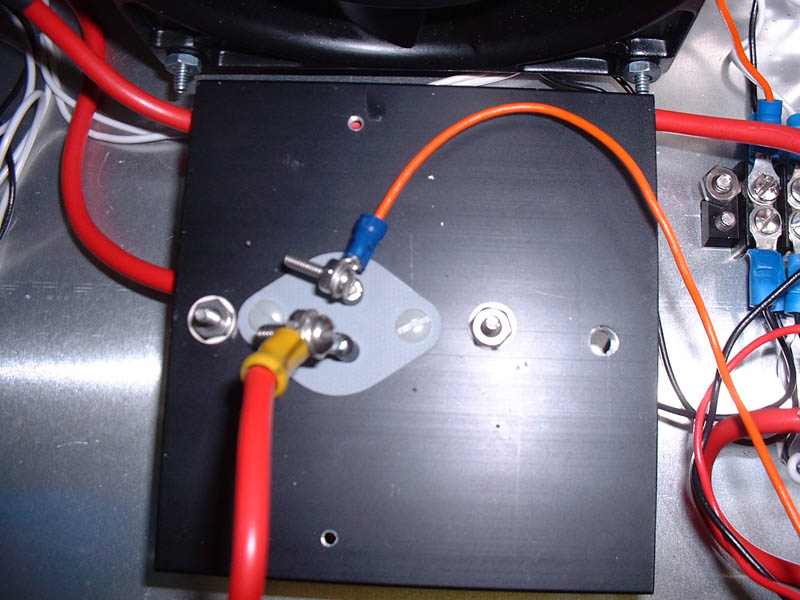
Power Transistor |

5V Power Supply |
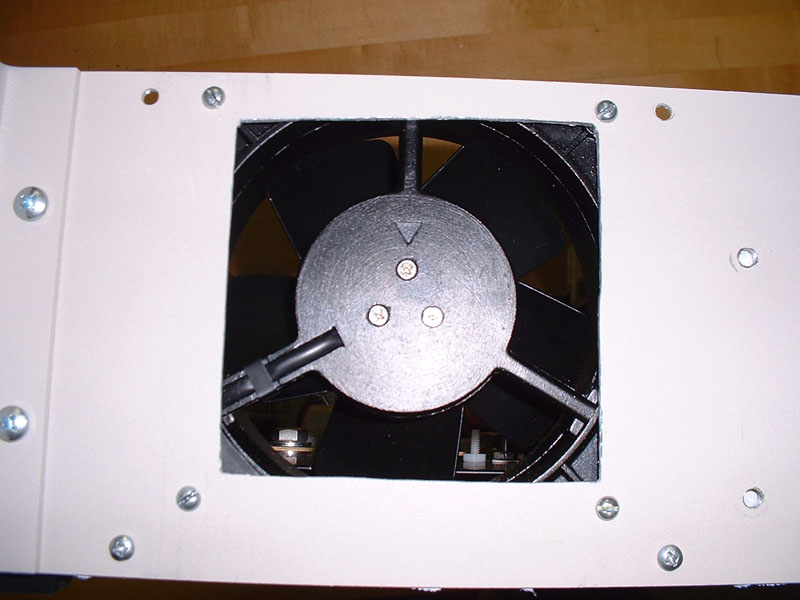
Fan |
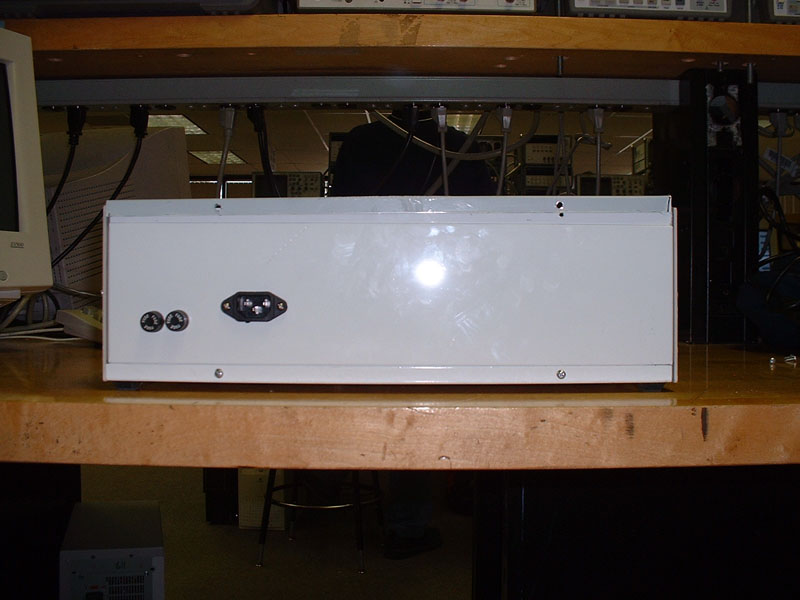
Back Side |